
If anything goes wrong, don’t worry! Let us know if you run into issues or if you need a replacement.
1
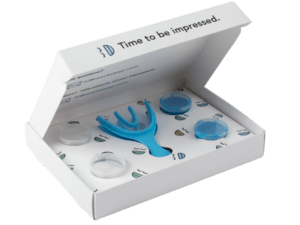
Prep the following items ready:
Let’s prep your area and items. Bright lights and a mirror will help you make a good impression. So the bathroom might be the best place to start.
Trays
Grab one and tray and check if it fits well in your mouth.
Putty
Pull out the white and colored. Make sure to leave the putty out so they reach room temperature before you begin.
Brush & Floss
Make sure your teeth are freshly brushed and flossed.
Wash Hands / Gloves
Wash your hands

Phone / Timer
Get a timer ready to keep your impression on track.
Paper Towel
It might not be pretty but your may drool when you take your impression out.
2
Mix putty one tray at a time.
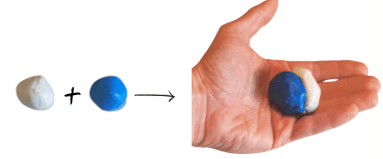
Take the colored (usually blue) putty and the white putty, and mix them together quickly until they form a uniform color.
The putty sets rapidly, so be sure to finish mixing within 20 seconds.
3
Divide the mixed putty into two even-sized pieces.
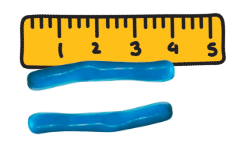
Roll both pieces of putty into 4-inch long cylinders, ensuring they are long enough to fit the entire tray.
4
Apply the cylindrical putty to both the top and bottom of the tray.

Place one cylindrical putty on the top side of the tray, allowing it to stick out slightly. Then, place the second cylindrical putty on the bottom side of the tray, also letting it stick out a little.
5
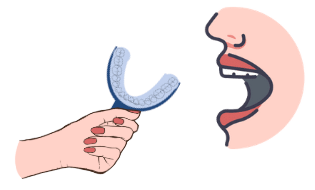
Make a Great Impression: Bite down and remain still for 3 Minutes.
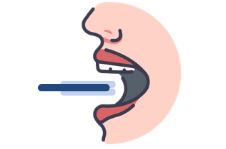
Once you bite into the tray, avoid moving it. Relax your lips and breathe through your nose.
Apply steady pressure, bite down, and hold for 3 minutes.
6
Remove the tray once the impression putty has fully set.
The putty takes 3 minutes to harden. Do NOT keep the putty in your mouth for more than 4 minutes.
Using your fingers, gently remove the tray by pulling it down to detach it from your upper teeth, then lift it away.
Avoid touching the impression material during removal (or afterward), as this can distort the impression.
7
Review the impression you just made.
Check that the impression is clear and accurate for both the upper and lower teeth.
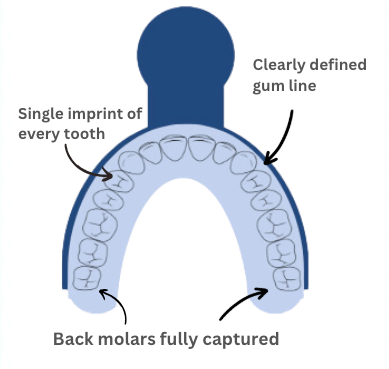
- Ensure there are no air bubbles or distortions.
- Ensure the teeth impressions are clearly defined.
- Ensure the gums are accurately represented.
8
Repeat Steps 2-7
Repeat steps 2 to 7 one more time, making a second impression even better.
9
Take Pictures and Email us.
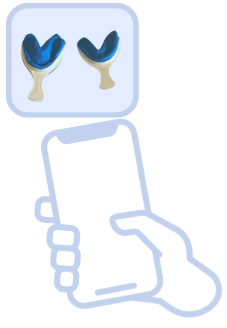
hi@ReachSleep.com
Take pictures, of both sides of each impression and email us the results. Please wait for confirmation before returning the box.
10
Place the impression back into the box & Return the box
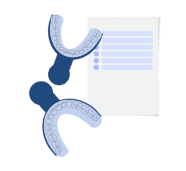
Place both impressions in the box along with your Custom Info Card. Ensure the box has the return shipping label attached. We will email you once we receive your impressions.
As with any dental impression, damage or loss of tooth structure, crowns, bridges, implants, bonded retainers or other dental work is possible.
Do not ingest the impression kit material. If you do, and experience any health problems, please seek medical attention. As with anything placed in the mouth, choking hazard is a risk; please exercise appropriate caution.
ReachSleep should not be used by people with Temporomandibular Disorder (TMDs), active periodontal disease, or problems with locking of jaw joints